So anyone familiar with me is aware of my love for a good dice box. I’m always on the look out for one for my armies. I have two for my tomb kings; one I’ve shared and the other I’ve been sitting on for a few years. And I’ve one that is actually Imperial designed that I recast and painted to go with my Necron army. The second box while awesome, never settled well with me. The colors may match, but the theme is all wrong! And my neurosis would not grant me satisfaction until I found a suitable replacement. I searched and searched but never found one that was acceptable and years ago, 2012, I said to myself you’re going to have to build one. I never got around to it, and then I fell into my funk and everything went to the wayside. Till now.
Last month I started conceptualizing this dice box project. I sketched some ideas out on paper (badly) and ran it past some friends. After some re-working I started gathering parts.
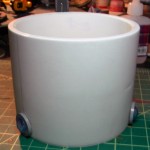
First off it needed to be round. I went digging around the plumbing isle in Lowes and found a 3” repair coupling that fit the role perfectly. After a bit of sanding the piece was perfectly smooth. I did have to grind some ugly parts off and it will need some additional filling/sanding closer to the end but so far so good. I started hunting for the parts add onto the frame. Off to Plastruct!
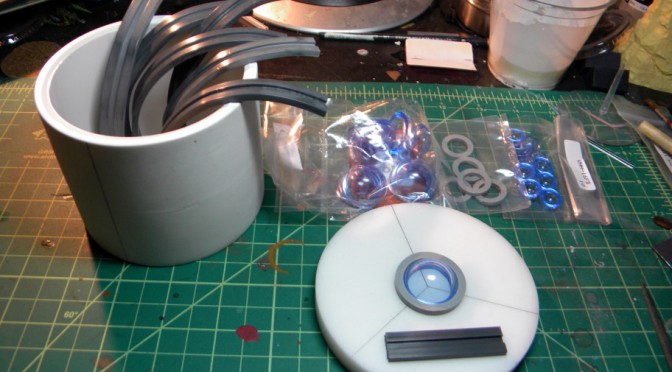
After perusing Plastruct’s catalog for several days, I built myself a nice list of parts and made my order. Also need a lid and that took several days to find. I found this company, MSC Industrial Supply, which sold plastic disks perfect for my project. I piced up two 4” plastic disks. After they arrived, only took a day, I measured the coupling and it was just shy of 4 inches. Damn my luck. I’ll just have to fix that flaw in production.
It took another few days for the Plastruct order to arrive and by then the lid disk was nicely sanded and line divided into three parts. I also divided the coupling into three parts to make adding the plastic elements easier.
Time to begin production!
I knew a round design was going to be a pain, I had no idea. Bending that plastic was a chore that took hours. First I boiled some water and dumped the pre-cut pieces into to soften them up for bending. Little did I know that 100 degrees was not hot enough to work this plastic. I need to go HOTTER!
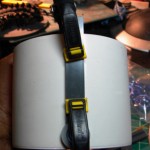
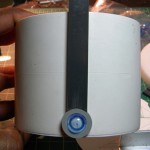
The oven was right out there was not way I’d be able to keep the parts from melting if it got to warm so I decided to give my wife’s hair dryer a run. The air that rushes out of the business end is really hot on the highest setting and I bet it would warm the plastic up perfectly if I was patient and careful. It took a little trial and error, but I managed to get 6 pieces bent around the coupling frame with some strong clamps. With that done, it was time to start to glue.
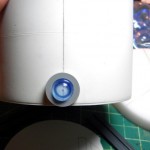
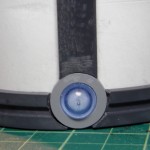
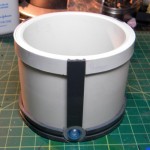
I got the first elements on with no problem. The hard part was getting the bent parts around the bottom of the box. I used my dremel and a round sanding bit to get the parts to fit around what I call the glowing elements. It was pretty damn difficult to get it right and I used of four of the six parts I made getting it right. I glued them down and clamped it tight for a few hours. I had to finish it one section at a time so this phase took a day or so. ~ I was so busy working on this part that I forgot to take pictures. This is a close-up the finished work. ~
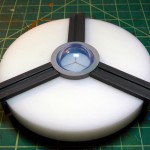
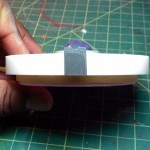
The lid was easy. The pre-measured lines made adding the parts a breeze though I did have some trouble getting the vertical bits to line up correctly. I had to tear a part off and re-glue it because it was crooked. You can actually see it in the pic above.
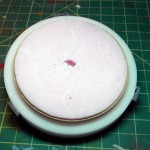
Getting the inside of the lid has been a real trial. I could not for the life of me find a part to fit in there correctly. I settled with using some foam and some rubber bands to fill the gap. I’ll be casting this whole thing when I’m done so those parts will blend seamlessly.
I added some ½ inch plastic strips to the top of the box. These were not too hard but I did discover that my measurements for trisecting the box were off by about ¼ of an inch. Never did this before so I think that and acceptable degree of error.
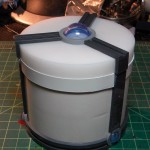
Here’s the whole thing so far. Not too bad. I’m no sure on the lid as it looks like a replication of the top of the box. I don’t know what I’ll do about that at the moment. I’ll just continue with production and fix that design bug later.
Please let me know what you think so far. Feedback is very helpful!
Shawn G. (SoI)
You need post the finished product!! It looks awesome!!