Coming down from holiday business, a Warcraft expansion, and restarting school. Now it’s time to get this blog rollin’ again!
I wanted to take a stab at making my own resin bases. I have two paint schemes that I wanted to show off and the bases I have in mind would be perfect for displaying both. I’ve decided that my first, and likely only, base series will be a diamond plate design. I wanted a base that didn’t distract from the design so this style will be perfect.
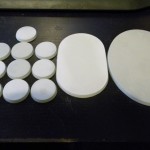
I started with some resin blanks from Dragonforge. Jeff Wilhelm created some blanks for you to craft your own custom bases. I picked up some bike bases, 30mm rounds, and 2 large oval blanks for my set. The 25mm & 40mm will come from my base box.
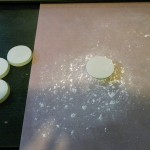
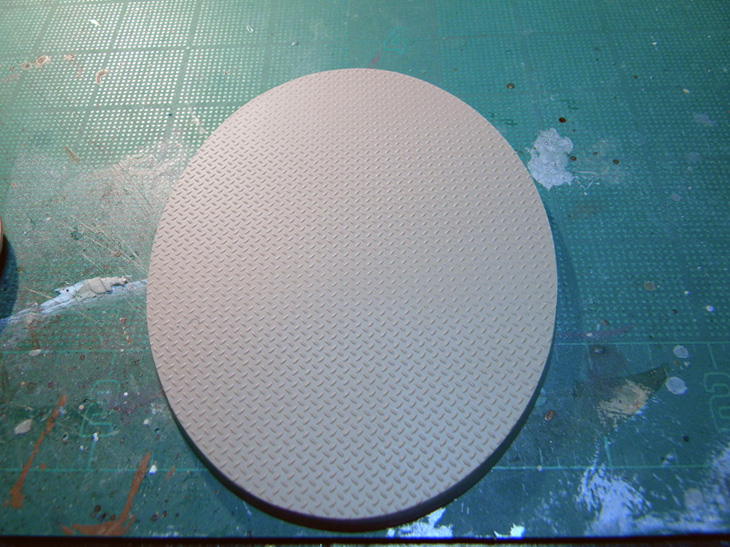
I will be using plasti-card sheets with diamond plate detail for these bases (Plastruct PS-155). I needed the sheet to adhere to the bases as securely as possible so smoothed the top of each base with fine grade sandpaper.
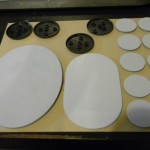
I only had 1 whole sheet and 1/2 of another I needed to plot out carefully how many bases I could get from each. It turns out I had EXACTLY the amount I needed. Lucky me!
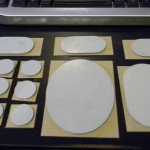
Using a T-Square I measured and cut enough for each base and glued them down with superglue. I used a paper towel to clean up excess glue under the sheets. The larger pieces were set to cure under a heavy book.
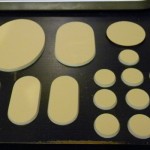
The next part was the easiest but most time consuming. I trimmed away most of the excess sheet with a fresh x-acto knife. I started with cutting the corners away then picking the bases up and trimming as close as I dared. I left a little rim of excess sheet because I don’t know about you but I find it difficult cutting a perfect circle with a razor blade. The rest of the styrene sheet was filed away with one of my flat hobby files. This allowed me to get a perfect seamless rim to all of my bases.
This part took forever, but the results were very satisfying! Take your time here and file in one direction down towards the bottom of the base. Going in the other direction will only pull off the sheet and piss you off rightly.
The next phase is the casting phase. I’ll be ordering some silicone rubber this week so I can make some molds of these bad boys. I think the time I took to get the edges smooth will pay out nicely with some seamless base edges.
Stay Tuned!!!!
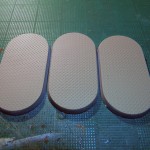
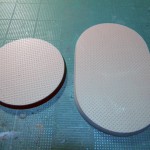
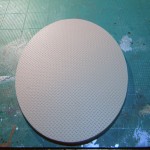
Update – I took some detail pictures of my masters so you can get a closer look.
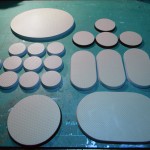
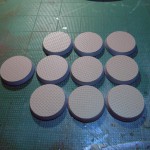
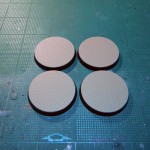
where do you order your silicon rubber from? do they have a website. i’ve been wanting to cast my own bases, but haven’t found anything thats easy to work with here in holland.
btw great tutorial, learned a lot, when do you start casting your bases?
Glad you liked the tutorial. This was my second major casting attempt so I was comfortable with the materials. I buy my rubber and resin from Smooth-on. I’ve found their product to be excellent. They should ship overseas, but I’m not sure. Here’s their website: http://www.smooth-on.com/.
Shawn G. (SoI)