Tervigon Egg Sacs

I received a question a few days back on how I did the egg sac look on the back of my Tervigon. The question came at a perfect time because I had some spare green stuff from a small project I’ve been working on. So I decided to answer his question tutorial style!

Here ya go Emilio!

When I started to build my Tervigon a few months back I tried to follow the hobbyist genius that is Hydra of Warpshadow. I just could not get the glue/tissue method that he had developed to work right so I changed direction. The base form of the beast was perfect and since I had already hollowed out his (her?) back for the egg pods I needed my own process.

My design mirrors the interesting albeit gross reproduction habits of the Surinam Toad (read and educate yo self foo!). Eggs suspended in the spongy tissue in the Tyranid brood beast’s back was so perfectly alien I had to do it. And it was easy as hell to do!

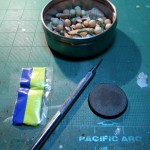
Here’s what you’ll need:

Needed Mats

  • Tub-o-Egg Sacs
  • Green Stuff
  • Sculpting tool


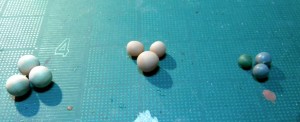
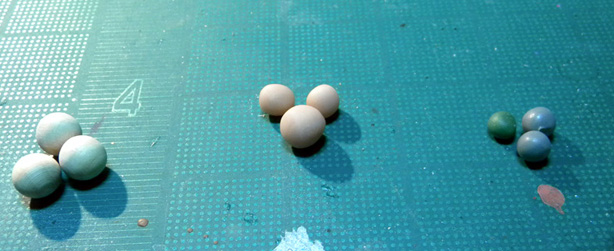
You have a choice of materials you can use for your egg sacs. Here is an example of 3 mediums I keep for potential projects:
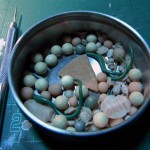
Tub-o-Egg Sacs
Tub-o-Egg Sacs

Choice of Eggs
Wooden - Sculpy - Putty


Wooden Spheres – Bought from Michael’s. Perfect size but they are all the same dimension. Varying sizes will fit this project better.

Handmade from Sculpy – These are what I went with. You can crank out a score of these little bastards in about 10 min and they are cheap as hell too! Just roll them up, bake them for a few minutes and you’ll be ready. Vary the sizes so you have options.

Green/Grey Stuff – Have you ever had some spare green stuff leftover from a sculpting project that you had no use for? Roll it into a ball and keep it! You’d be surprised how useful that sphere will be a few weeks/months down the road.

Once you have your sacs in hand (gigity) the sculpting work is damn simple.

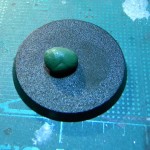
Green Stuff
Green Stuff

Roll up some greenstuff.

Part - I
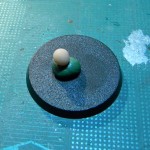
Push egg...
Part - II
...into putty

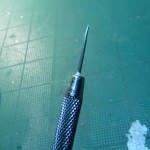
Sculpting Tool
Don't hurt yourself...

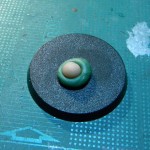
Push your sac into the putty (gigity) and grab your sculpting tool.
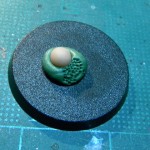
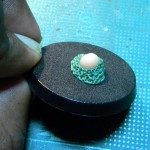
Pock Marks
Pock Marks
More Pocks
Moar Pocks

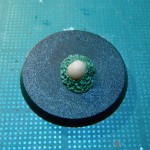
That's it!
That's it!

Prick the putty making a pock-like surface. You can push the putty around into new places to make the sac appear to be pushing out of the tissue.

A Slice of Advise

It would be rather expensive to fill the whole back of a Tervigon with just green stuff. I suggest you use a cheaper medium to fill most of the space and then finish with green stuff egg process. I filled most of the back of my beast with Apoxy Sculpt and added the sacs after it cured.

And that’s it! Hope you found this usefull!
Demons of Chaos WiP

My content posting has slowed down somewhat over the last few weeks but it has not been due to laziness. Well not entirely at least…

Here are 2 of the big baddies I’ve been working on for my demonic horde. I’ll have better pictures when they are done. My wife annexed the lamp I was going to use for extra lighting. I’ll need to get another one.

I’m also finishing up my old school horror unit (30 deep) and I have a unit of bloodletters that I must complete that I’m dreading (also 30 deep). I hate painting them! They never come out the way I want!

Kiros Fateweaver Work in Progress 1
Fateweaver Wip-1

Kiros Fateweaver Work in Progress 1
Fateweaver Wip-2

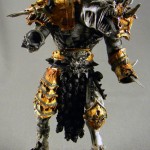
Khornate Demon Prince Work in Progress
Demon Prince WiP-2
Khornate Demon Prince Work in Progress
Demon Prince WiP-1

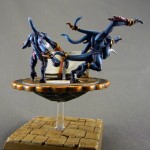
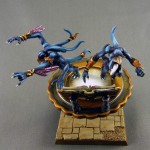
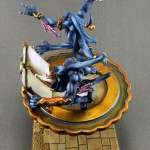
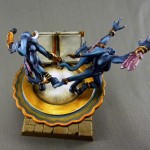
Blue Scribes of Tzeentch

I’ve been a busy bastard lately. I looked at all the armies I own and realized that I have not had a completely painted army since ’04. Heresy! With this fact in mind I decided to focus on getting the one army that I have had sitting around 80% for years now complete; my Tzeentch Demonic Horde. I’ll post more on that later.

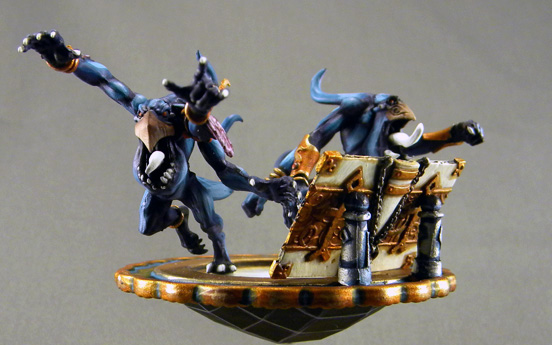
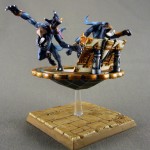
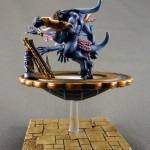
This conversion(?) came together while in Michaels. I had been looking for a suitable disk for the scribes for some time and found the perfect example in a cheap metal pendant in their beads aisle. The tome comes from the Covenant of Menoth, with some extra terrain bits I had kicking about.

I was going to add a slew of scrolls and crap around the disk as arcane clutter but changed my mind in the end. I felt it would be too distracting. I’m not finished with this piece. I still have to add the text into the tome as my Prima art pens have yet to arrive. I’ll then flat coat (Krylon Crystal Clear Flat) the model and pick out the gems in gloss varnish. The base comes from Dragon Forge’s Temple line. Thanks again Jeff. Love your work.

I tried to complete this for a Tournament at last Friday’s Vets night and I almost pulled it off. The model was well received but I placed poorly. Really poorly…

Blue Scribes of Tzeentch
Front Right
Blue Scribes of Tzeentch
Left Side
Blue Scribes of Tzeentch
Rear
Blue Scribes of Tzeentch
Top Front
Blue Scribes of Tzeentch
Top Left
Blue Scribes of Tzeentch
Top Rear